Web Application Performance Benchmark with Apache JMeter
Apache JMeter was originally designed for testing Web Applications on Tomcat, but it be expanded to other test features later, refer to http://jmeter.apache.org/ for details. In the exampls of this article we’ll using JMeter version 2.13, mainly focus on how to implement Web Application Performance Benchmark.
Install Start JMeter
JMeter is available for download from the Apache website ( http://jmeter.apache.org ).
Install JMeter:
$ unzip apache-jmeter-2.13.zip
Start JMeter:
$ cd apache-jmeter-2.13/
$ ./bin/jmeter.sh
Building a basic Test Plan
Continuing with above procedure, when starting JMeter, the application will appear with a Test Plan as in the figure below:
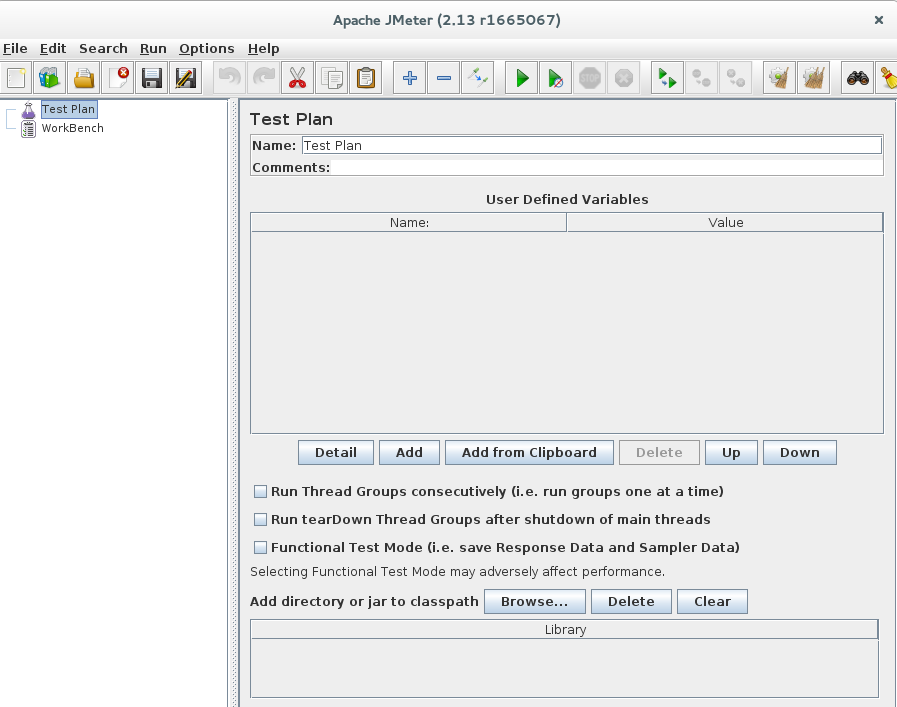
The Test Plan is a container for running tests. The WorkBench functions as a temporary workspace to store test elements. When you are ready to test what you have designed in the WorkBench, you can copy or move the elements into the Test Plan. To get an understanding about how JMeter works, let us create a simple test case by following these steps:
Step.1 Define a Thread Group by using right-click on the Test Plan and choose Add > Thread Group. This is the main component of the test plan and will contain sub components.
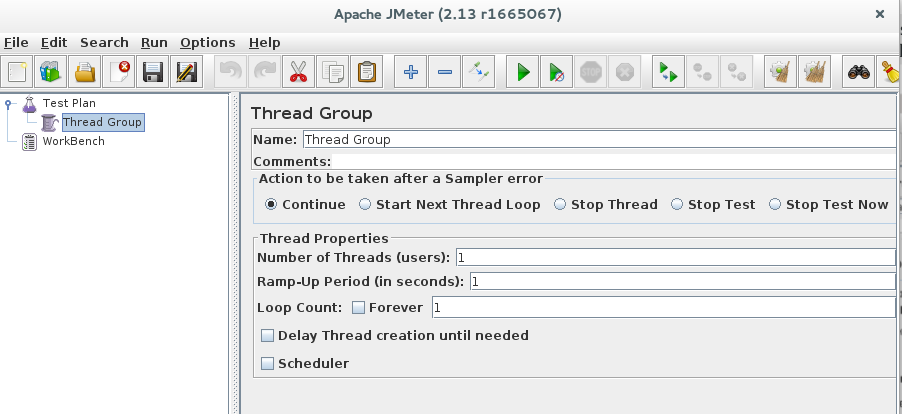
The fields in this window allow you to define:
- Number of Threads (that is the number of users)
- Ramp-Up Period (how long to take to “ramp-up” to the full number of threads chosen)
- Number of times to execute the test
If you enable the Scheduler field, in the lower part of the GUI, you will be able to define a startup time and a stopping time for your test, which can be thus be deferred to a later time.
Step.2 Add a sampler. In this example we want to sample a WebServer so we right-click on the Thread Group and choose Add->Sampler->HTTP Request.
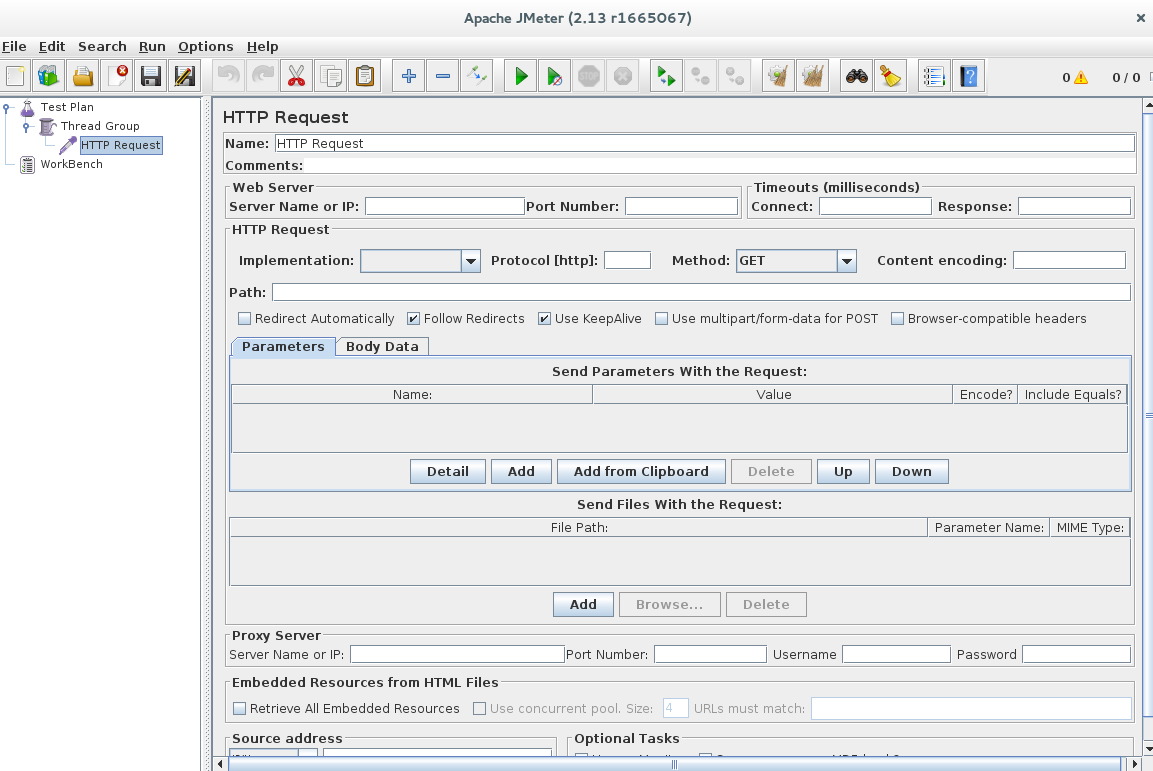
In the Web Server section you specify the server address and in the HTTP Request section the path to the web page that should be tested.
Step.3 Finally we add a Listener which is responsible to display the statistical information about the Samplers result. There are several variants available and for this example we choose Aggregate Report by right-clicking on Thread Group and Add->Listener->Aggregate Report.
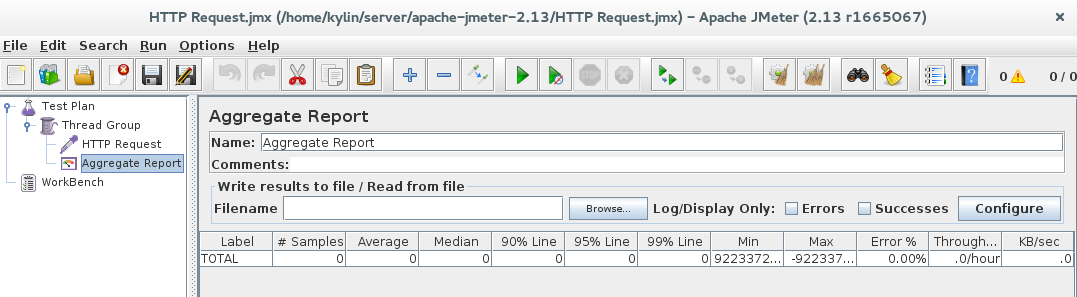
Before running the test, JMeter requires us to save a Test Plan: click on the Save Test Plan button from the File menu and then, from the Run menu, select Run.